I thought I would have lots of time to work on some Christmas project ideas, but about a week after I was let go I landed another job. Everything is going great - just staying busy learning the new ropes, traveling for business and, like you, preparing for the holidays.
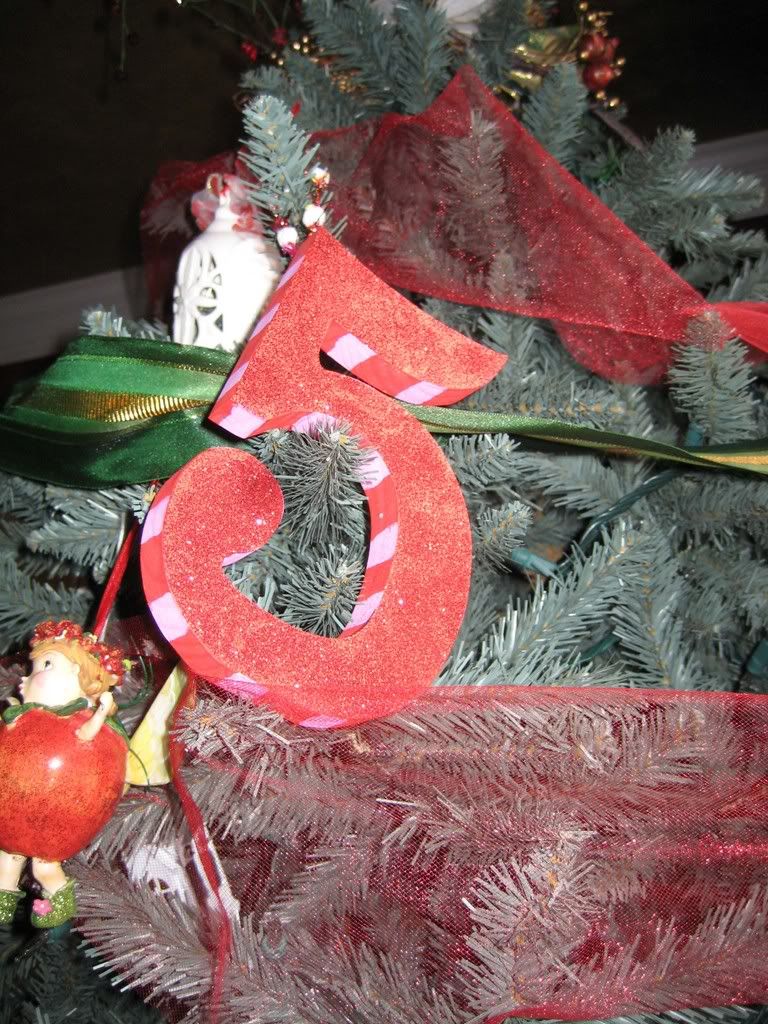
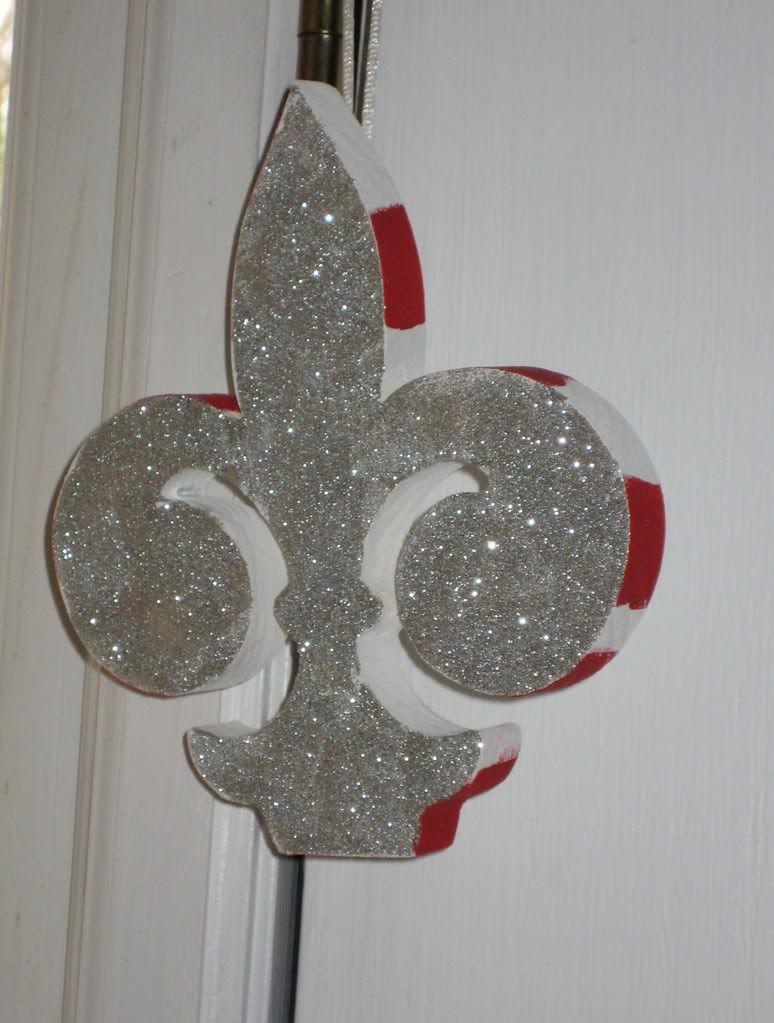
So, I'm sharing an ornament idea I created a couple of years ago that I still love today. These were 6" Glittery wood letters! I just love the way the light hits them and make them sparkle! And with them being 6" they are big enough to fill the tree and really stand out.
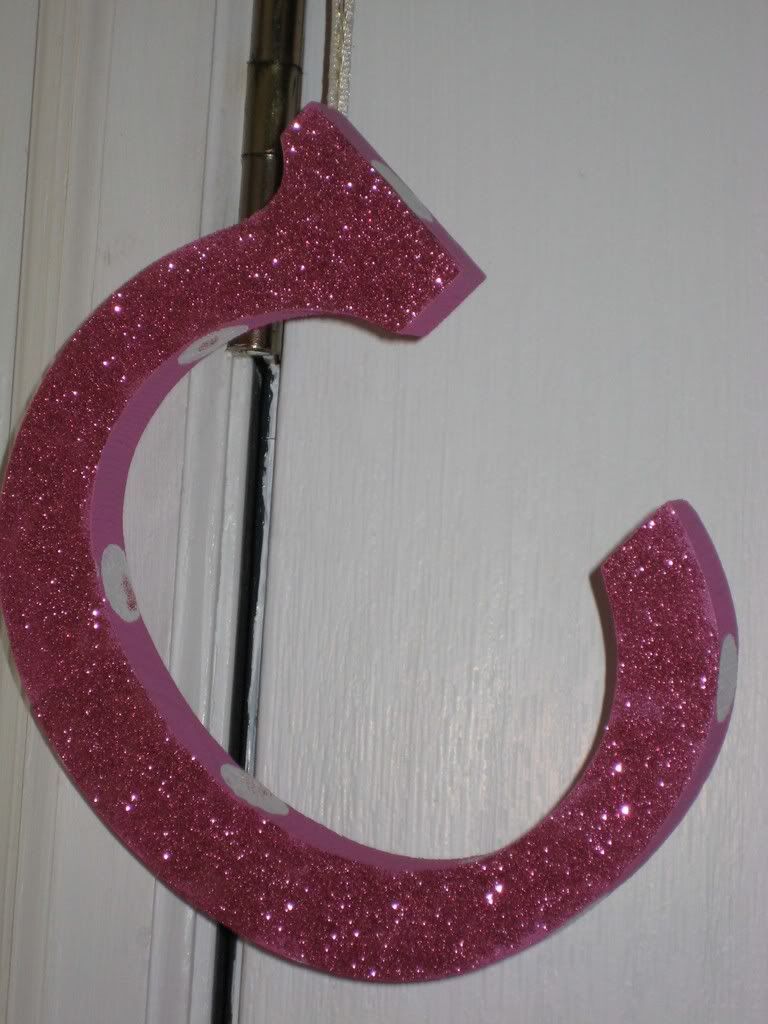
Just buy some wood letters from any craft store, basecoat them the color of the glitter you want to use and let dry. Then have your glitter onhand and in a container that will pour out quickly and easily. Brush a generous amount of Mod Podge decoupage finish on the top and quickly pour glitter all over! Remember to work on a peice of paper so that you can catch and reuse your glitter!
Basecoating the letter the color of the glitter (or use white for silver glitter), helps to hide any holes that you may not have covered well with the glitter and it really makes the projects have a deep sparkle.
To hang, knot some ribbon loops, turn the dry letter over. Place the knot on the back of the letter and staple into the wood just above the knot. You're done!
Hi there Dearie!
ReplyDeleteSeasons Greetings!
So glad to hear everything is going well, Love the letters, especially the fleur de lis, might have to go get some wood blanks! I think I need a whole row of them!
Sandra Evertson
Me again!
ReplyDeleteWishing you and yours a very Happy New Year!
Sandra Evertson