Showing posts with label Birthday crafts. Show all posts

Thursday, April 12, 2012

Fireman Birthday Party

My little guy turned 3 last year and I'm just now posting some ideas for a Fireman in training.
Photobucket
I made it a little easier on myself by ordering the cupcakes at Publix and then making my own cupcake picks. I even bought a large punch to do the scallop circles and glued them to lollipop sticks.
Photobucket

I must proudly show you this fire truck made out of cardboard boxes! I just taped and hot glued in a few areas, cut out the holes and rolled on the red paint. I actually overlapped some of the flaps inside the boxes to add some extra durability and it really held up very well.
Photobucket

I used a satin finish paint just so it didn't have that chalky feel. The lights on top are simply...a UPS tube! I just cut it down and wrapped in paper. The kids could enter from the back and crawl to the cab. It was a lot of fun and, of course, it was destroyed post-party. Oh well. (Sorry for no in-process photos.  I was in the basement and just got so caught up and excited that it was going so well that I kept working until the end.)


Then we can't forget the invitation...

No, this isn't Pull the Tail on the Doggie, but rather a pinata from Party City with the pull string releases for little ones. They all took a turn with their little fire hats on.  The hats all came from DollarTree. Now for you to be inspired and have a Fire Fighting Good Time.
Photobucket

Sunday, May 3, 2009

1 Year Old Party Outfit, Bib and Favor Ideas

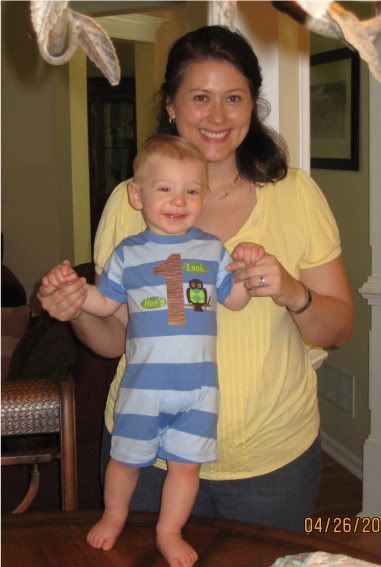
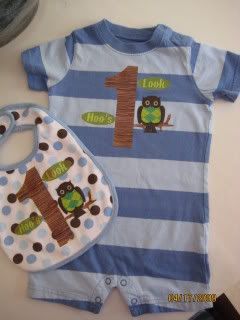
Okay as promised I here's my little Prince wearing the "Look Hoo's One" romper outfit that I put together and explained in an earlier post. I do have a thing for owls.

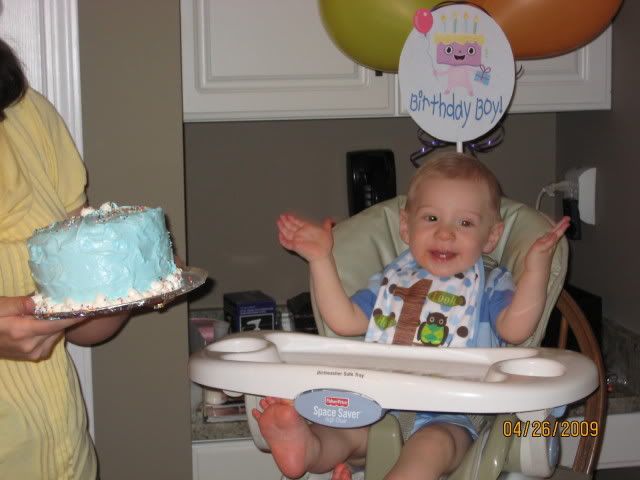
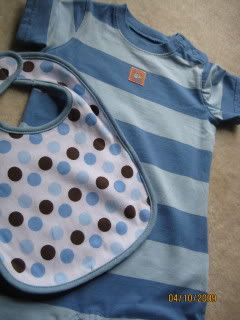
And here's the matching bib just before the big cake "smashing" event is about to happen.

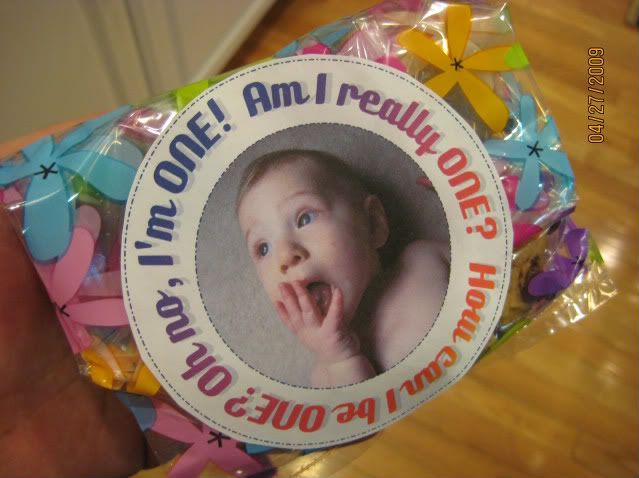
I also decided to do "take home" favors - chocolate chip cookies for late-night munching. Simply put in a cello bag with a round sticker that I designed on the computer.


Just use the full sheet Avery label stock to printout the design and cut out with a pair of scissors. Then enlist a girlfriend to help stuff and stick. We did have some issues with chocolate on our fingers and trying to not get the labels dirty. Ha ha..

Saturday, May 2, 2009

Birthday Cake!


Well, I survived the party for my one-year-old. This weekend I'm finally catching up on all the chores I had neglected leading up to the party but it was well worth it. The party was great, the cake turned out cute and the guest of honor was in the perfect mood.


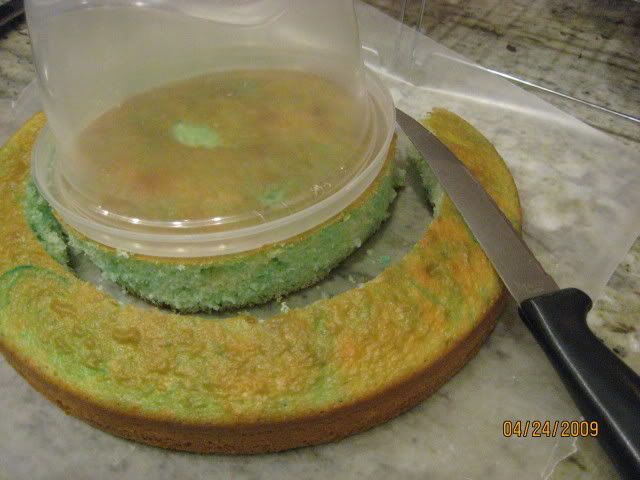
I wanted a small double-layer cake for Hudson to dig into and decided to do it myself with help from Betty Crocker...why not???? I baked the layers in 2 round pans then found a container to then cut the cake even smaller. Don't throw away the trimmings! Wrap it up and toss in the freezer....an idea on what to do with these is below.

I tinted the icing blue (and yes, I marblized the cake batter with some blue coloring). One layer of frosting was put on and then put the cake went into the fridge to firm up. The problem I had was since I had cut off the sides, the cake would break apart when I tried to spread the icing. So do this step carefully. A second layer of frosting was spread, add some simple piping and top off with the 1 candle. Just what I wanted, a homemade-looking creation. Perfect for picture time.


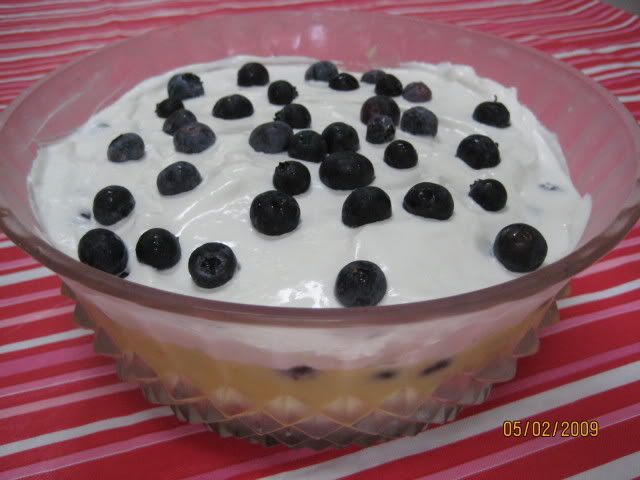
Now for those cake trimmings...make a quick TRIFLE a week later!


Trifle Ingredients:

Cake trimmings, chunk into 1" pieces
1 boxes instant vanilla pudding mix, use milk ratio for a pie
Cool Whip
Blueberries or Strawberries
Crushed Pineapple, 1/2 can

Layer cake, pineapple, pudding, berries, Cool Whip and more berries. Refrigerate before serving. Enjoy a nice dessert with your hubby and 1 year old....and some other guests!

Friday, April 17, 2009

Little Owl Outfit and Bib


Sometimes to get exactly what you want you have to make it yourself. That's what I did when I went on the search for a birthday outfit for Hudson's 1 year party. This Little Owl Ensemble was simple to do.


The hardest part was finding a plain or simply printed outfit to transfer the image on. I found this romper at Carter's and detached the little applique that was sewn on the front.


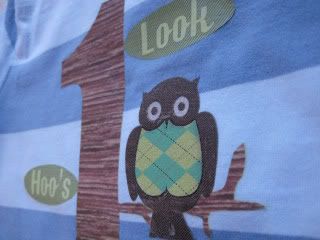
I designed the "Look Hoo's 1" pattern on the computer and printed it on the iron-on transfer sheets. The Owl Applique is from the $1 bins at Michael's, but it will probably be gone by the time you make it there. So you may need to look in the fabric department for some other applique options or find some owl clip art on the computer.

Tips: Buy your outfit first and then look for the transfer paper, follow the manufacturer's instructions for the paper, and do a test sample first.

Transfer Paper:
There are all types of papers on the market. I think the packaging is very unclear as to which type of paper you will need to use. I would pick your outfit first and know if your surface is white or colored. Then go to the store and start looking for the right paper.

If your surface is white, there is paper that will actually transfer the ink directly onto the fabric.

If your surface is colored, then there is a sheet of thin film that you print directly on, cut out and then actually iron the film to the fabric. That is the method I used since my romper was blue. The white transfer film make the ink jet colors brighter.

Have fun and no fear! I'll post more pictures of my little model in a couple of weeks.

Wednesday, April 8, 2009

Birthday Prince Invitation


My little Prince is turning ONE!!!

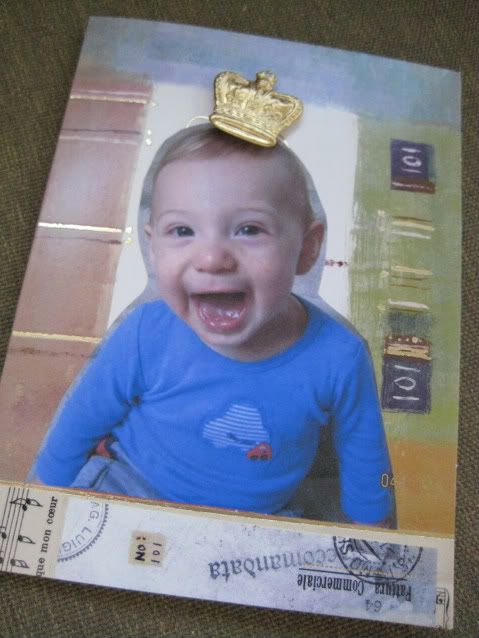
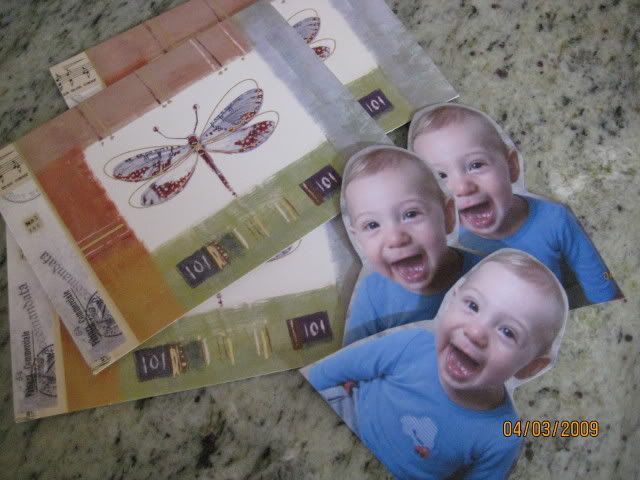
The big event is 3 weekends away, so the invitations HAD to go in the mail yesterday. To keep it simple (so I have time to obsess over other birthday preparations) I took some help from some $1 product at Michaels. A pack of 8 note cards with some type of design already printed on it, throw on a couple personal touches and POOF! You have a handmade invitation!


Actually the hardest part of the project is getting your little one to give you a great photo. I spent 3 afternoons taking pictures until finally he was in the funniest mood and I captured this look!
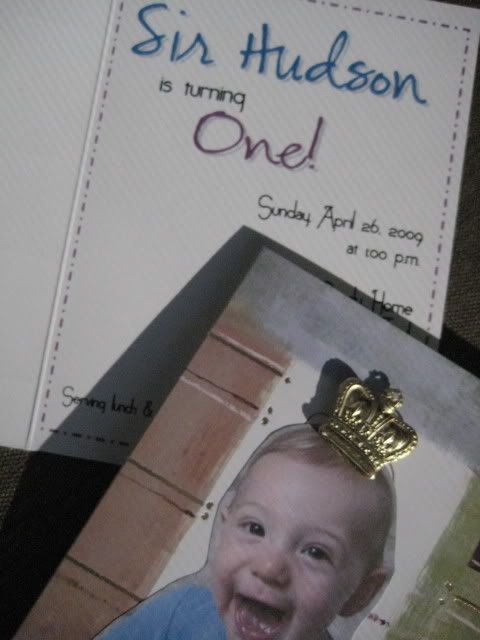
I printed the invitation details directly on the inside of the card using Microsoft Word. This took some playing to get it right. Be sure to do some test printing with scrap paper cut to the size of the open note card before putting the real thing into the printer.

After the insides are complete you are ready for the front.
Select the digital photo you want to use and print it on Avery's "Full Sheet" labels. Cut out the background leaving your "Cutie Pie" behind. Peel off the backing and stick on the note card. I added a gold crown charm with a foam Pop Dot for extra dimension. I couldn't find crown charms in stores, so I ordered them online from www.skybluepink.com. She was quick! 3 large charms for $1 plus shipping, but any difference in shipping she added a few extra charms.
...(sigh)...so cute...

Monday, February 23, 2009

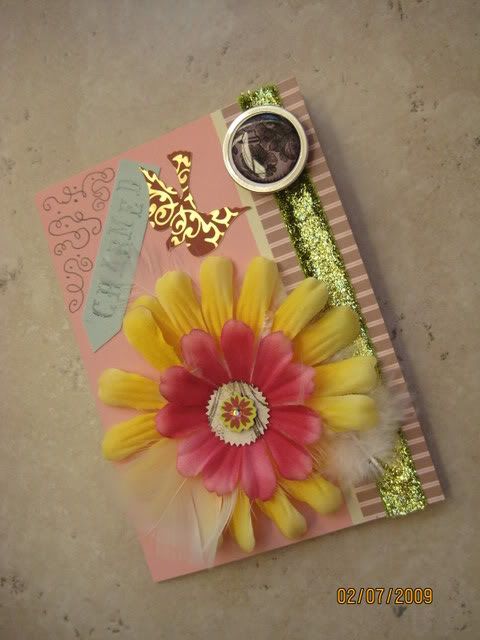
Charmed Floral Card

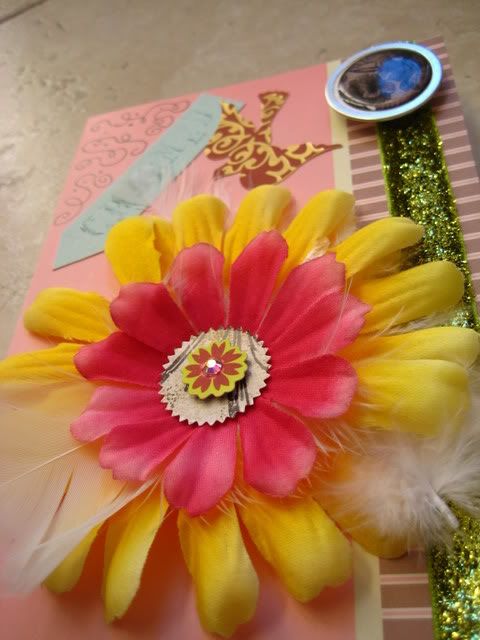
I made this card for a friend's birthday and held off on posting it for fear she would see it on my blog before I gave it to her. I wish I really had more time to craft!!!

Simply made with silk flowers that I cut apart and re-layered on top of each other. I used a punch for the center and then layered a paper flower and crystal stone on top of it.
The rest of the card was trimmed with stashed goodies...a little sparkly ribbon, white feathers, metal rim tag with epoxy sticker and I even pulled out my rubber stamps and pressed "Charmed".

Wednesday, June 11, 2008

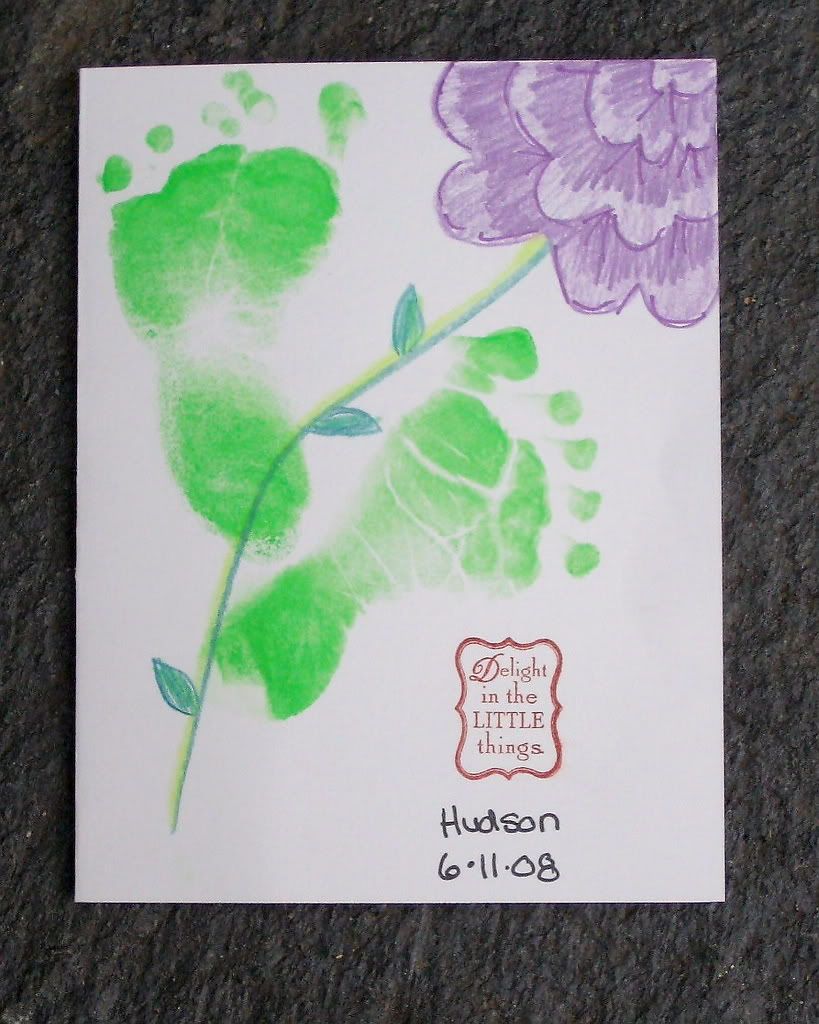
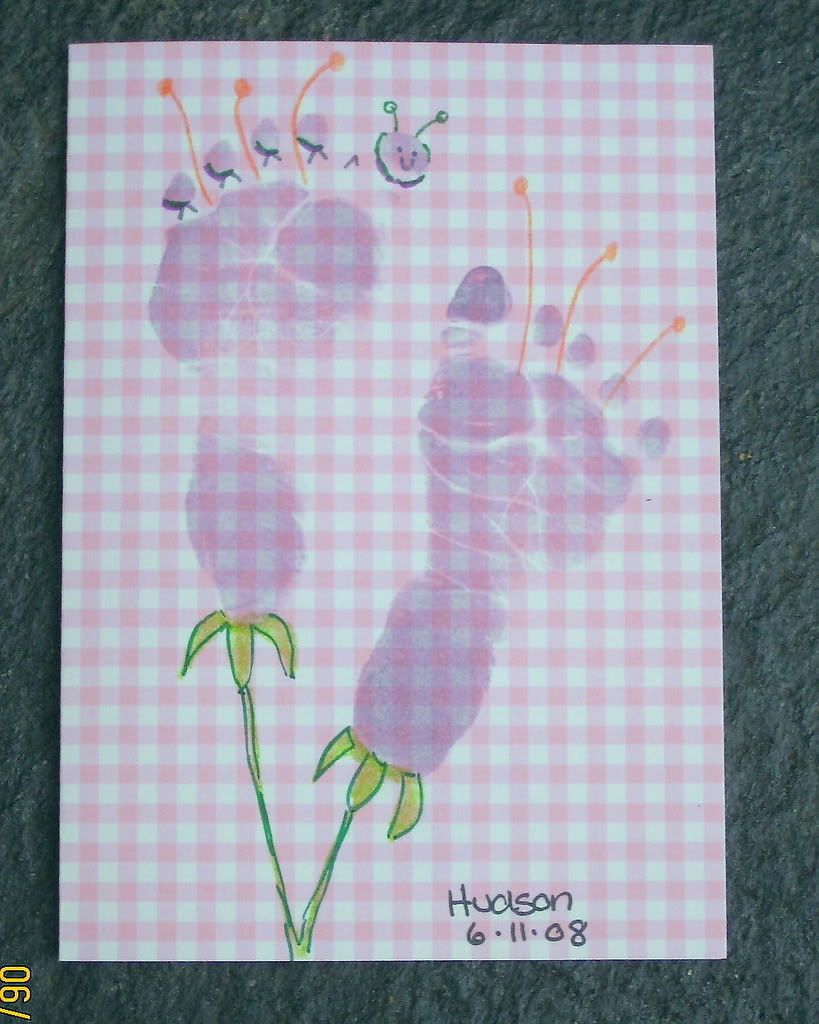
Baby Footprint Cards

With Father's Day coming this weekend, I had to continue my footprint cards for the family. This one uses the footprints as leaves for the flowers.


This is a birthday card for my sister-in-law. After I stamped it I looked again and could see a little caterpiller crawling around .

Saturday, February 16, 2008

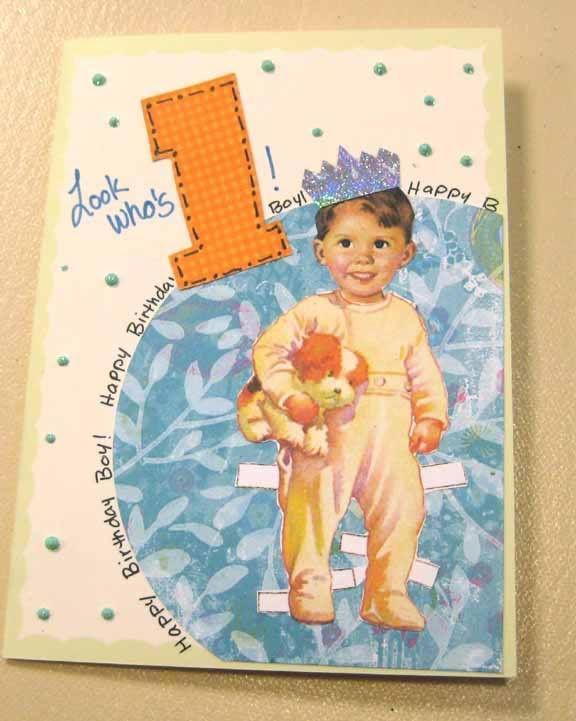
Birthday Celebration


My little nephew is getting ready to celebrate his very 1st birthday! I can't beleive a year has already flown by and leaves me to think how quickly my own little boy will grow up after he arrives.

I bought a circle cutter some time ago and love it as much as my large, tabletop paper cutter. You can easily cut perfect circles of different sizes and place them on your project. You also don't have to cut a full circle like I did here. I think putting partial circles on the corners of cards makes things stand out even more.

I also invested in a paperdoll book for some cute cutouts. As for the number "1", a simple plastic template pack of alphabet and numbers is a wise investment. You will use this over and over to trace and cut words or initals out of scraps. Yes, even though I have a case full of paper, I seem to hoard my scraps no matter how small they are. I know you are the same way!

To top it off add a crown on the birthday boy and some polka dot glitter accents. Nothing is ever done until it is glittered!

Saturday, February 2, 2008

Smile Birthday Card

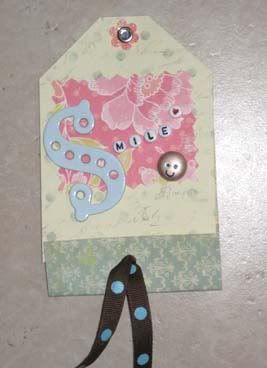
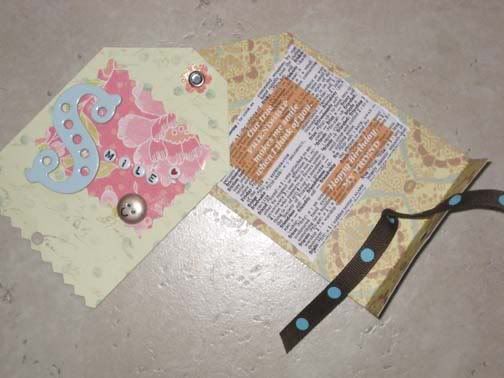
Here's a special card I made for a special friend. Two tag shapes were cut out of cardstock and held at the top with a rhinestone grommet and flower punched out of glitter paper.


Slide the two apart to reveal the inside message.


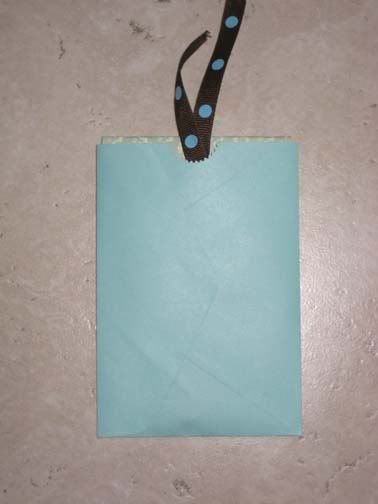
Now how about a special tip for envelopes. Why not take a basic envelope, seal it shut and slice one of the short sides off. Punch with a circle punch, but only halfway. Slide your card inside and you are ready to hand deliver your special handmade treat.