Saturday, August 22, 2009

"Up You Go" Footstool


Hudson is actually not quite big enough to use a step stool but I think in a matter of months those little hands will reach the running water.

It has been a long time since I stenciled and after getting started it was a quick reminder of what an easy way to get a design down quickly. Really, in a matter of 5 minutes or less I had stenciled the lattice pattern and the vines. Use a "dry brush" technique and it dries instantly so you can move to the next step.


I drew my own owl pattern on scrapbook paper and then punched the flowers and the owl's eyes. Pull out the Mod Podge and get to gluing. I left space between all my owl pieces so that I could go back in and trace and color the areas with a gold paint pen.

With a gold pigment ink pad I stenciled the circles on the edge with a stencil brush. Let it all dry overnight and brush a coat of Mod Podge over the entire stool. Sprinkle a little glitter and let dry before brushing another coat of Mod Podge.

Done. That easy, huh?

Sunday, May 3, 2009

1 Year Old Party Outfit, Bib and Favor Ideas

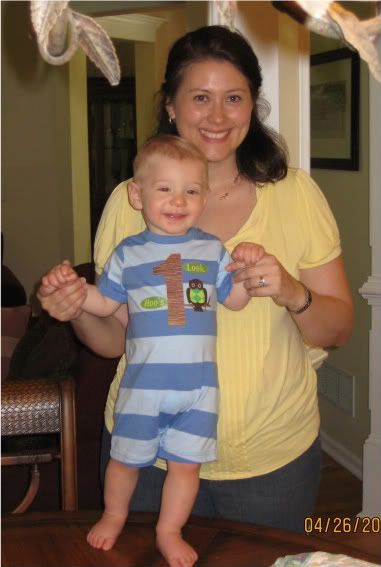
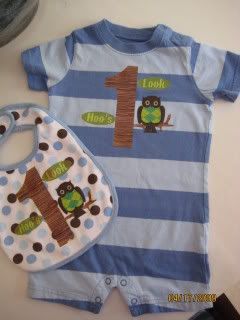
Okay as promised I here's my little Prince wearing the "Look Hoo's One" romper outfit that I put together and explained in an earlier post. I do have a thing for owls.

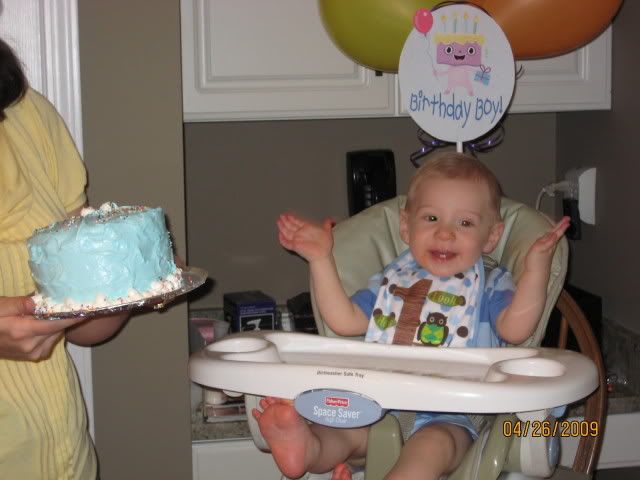
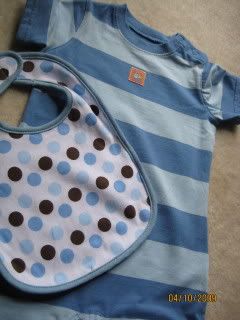
And here's the matching bib just before the big cake "smashing" event is about to happen.

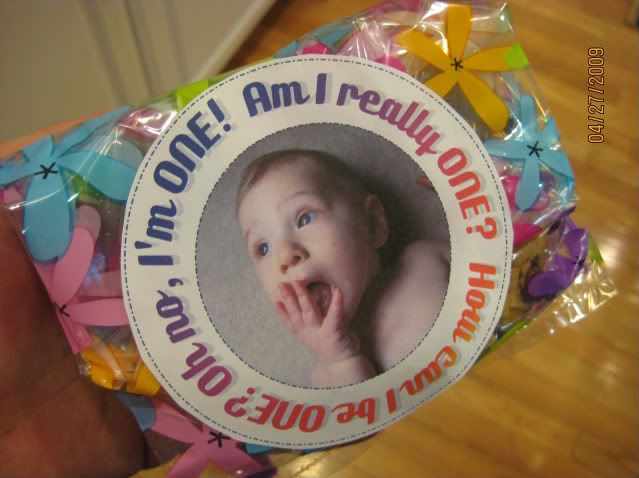
I also decided to do "take home" favors - chocolate chip cookies for late-night munching. Simply put in a cello bag with a round sticker that I designed on the computer.


Just use the full sheet Avery label stock to printout the design and cut out with a pair of scissors. Then enlist a girlfriend to help stuff and stick. We did have some issues with chocolate on our fingers and trying to not get the labels dirty. Ha ha..

Saturday, May 2, 2009

Birthday Cake!


Well, I survived the party for my one-year-old. This weekend I'm finally catching up on all the chores I had neglected leading up to the party but it was well worth it. The party was great, the cake turned out cute and the guest of honor was in the perfect mood.


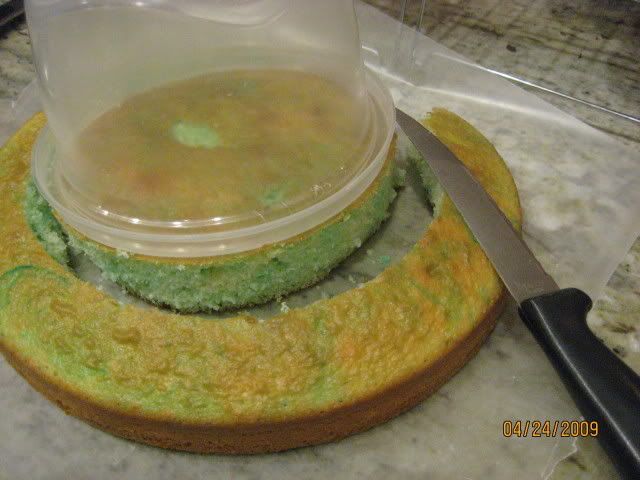
I wanted a small double-layer cake for Hudson to dig into and decided to do it myself with help from Betty Crocker...why not???? I baked the layers in 2 round pans then found a container to then cut the cake even smaller. Don't throw away the trimmings! Wrap it up and toss in the freezer....an idea on what to do with these is below.

I tinted the icing blue (and yes, I marblized the cake batter with some blue coloring). One layer of frosting was put on and then put the cake went into the fridge to firm up. The problem I had was since I had cut off the sides, the cake would break apart when I tried to spread the icing. So do this step carefully. A second layer of frosting was spread, add some simple piping and top off with the 1 candle. Just what I wanted, a homemade-looking creation. Perfect for picture time.


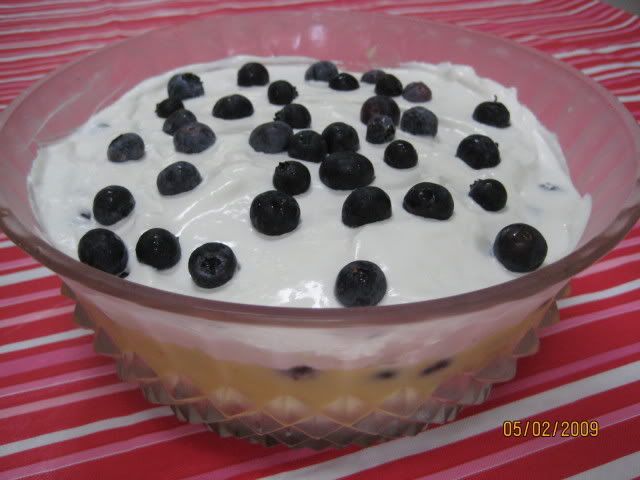
Now for those cake trimmings...make a quick TRIFLE a week later!


Trifle Ingredients:

Cake trimmings, chunk into 1" pieces
1 boxes instant vanilla pudding mix, use milk ratio for a pie
Cool Whip
Blueberries or Strawberries
Crushed Pineapple, 1/2 can

Layer cake, pineapple, pudding, berries, Cool Whip and more berries. Refrigerate before serving. Enjoy a nice dessert with your hubby and 1 year old....and some other guests!

Friday, April 17, 2009

Little Owl Outfit and Bib


Sometimes to get exactly what you want you have to make it yourself. That's what I did when I went on the search for a birthday outfit for Hudson's 1 year party. This Little Owl Ensemble was simple to do.


The hardest part was finding a plain or simply printed outfit to transfer the image on. I found this romper at Carter's and detached the little applique that was sewn on the front.


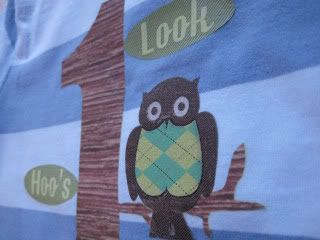
I designed the "Look Hoo's 1" pattern on the computer and printed it on the iron-on transfer sheets. The Owl Applique is from the $1 bins at Michael's, but it will probably be gone by the time you make it there. So you may need to look in the fabric department for some other applique options or find some owl clip art on the computer.

Tips: Buy your outfit first and then look for the transfer paper, follow the manufacturer's instructions for the paper, and do a test sample first.

Transfer Paper:
There are all types of papers on the market. I think the packaging is very unclear as to which type of paper you will need to use. I would pick your outfit first and know if your surface is white or colored. Then go to the store and start looking for the right paper.

If your surface is white, there is paper that will actually transfer the ink directly onto the fabric.

If your surface is colored, then there is a sheet of thin film that you print directly on, cut out and then actually iron the film to the fabric. That is the method I used since my romper was blue. The white transfer film make the ink jet colors brighter.

Have fun and no fear! I'll post more pictures of my little model in a couple of weeks.

Wednesday, April 8, 2009

Birthday Prince Invitation


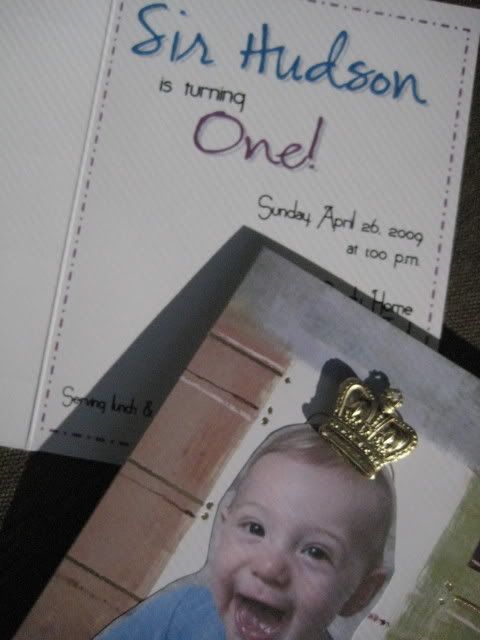
My little Prince is turning ONE!!!

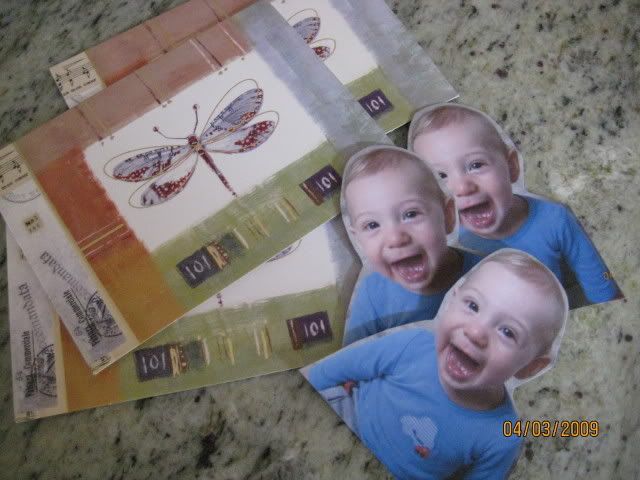
The big event is 3 weekends away, so the invitations HAD to go in the mail yesterday. To keep it simple (so I have time to obsess over other birthday preparations) I took some help from some $1 product at Michaels. A pack of 8 note cards with some type of design already printed on it, throw on a couple personal touches and POOF! You have a handmade invitation!


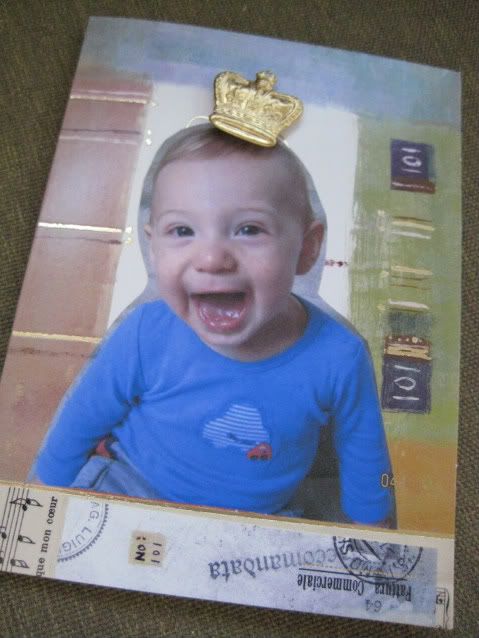
Actually the hardest part of the project is getting your little one to give you a great photo. I spent 3 afternoons taking pictures until finally he was in the funniest mood and I captured this look!
I printed the invitation details directly on the inside of the card using Microsoft Word. This took some playing to get it right. Be sure to do some test printing with scrap paper cut to the size of the open note card before putting the real thing into the printer.

After the insides are complete you are ready for the front.
Select the digital photo you want to use and print it on Avery's "Full Sheet" labels. Cut out the background leaving your "Cutie Pie" behind. Peel off the backing and stick on the note card. I added a gold crown charm with a foam Pop Dot for extra dimension. I couldn't find crown charms in stores, so I ordered them online from www.skybluepink.com. She was quick! 3 large charms for $1 plus shipping, but any difference in shipping she added a few extra charms.
...(sigh)...so cute...

Saturday, April 4, 2009

Hippity Hoppity Bunny

This little fellow just hopped on into our home. He has such a shy little sweetness about him.


This completes Hudson's year of baby prints since birth - my resolution I made over a year ago and I did pretty good in sticking to it. I must say I've had many craft challenges about what to do each time and with each one I've been so thrilled at how it turned out.


Of course, this will not be the end of my baby print madness as I know some crazy idea that will make me pull out the ink pads and get to stamping...I might have to move up to the next card size to get his footprint to fit.

Stay tuned as my next crafting madness will be Hudson's First Birthday Party. And you know I'll come up with some obsessive craft ideas in the next few weeks to share with you.

BTW: The best glue for working with felt is "Sobo" adhesive by Delta. It is sold in the glue aisle at the local craft store. This stuff works great.

Have a Happy Easter!

Thursday, April 2, 2009

Easter is Coming Soon!


Stay tuned as the next baby footprint is coming this week in time for Easter. Even little Hudson thinks it will look pretty awesome.